
How to label your cicada/insect specimens.
News Category: Cicada How To
How to label your cicada/insect specimens.

With this year's Brood XIX periodical cicada emergence happening in the south, I thought it would be useful to offer some suggestions on the methods that I use to label cicada specimens collected in the field. I would assume that a lot of you out there would probably be doing the same thing. That is, collecting specimens but actually don't know the best way to label or catalogue them. And, actually you could use this article along with the "How to Preserve Your Cicadas - Pinning" article to help you collect responsibly. Between these two and future articles, you'll be well on your way.
So in that light, we will pick up where we left off at the end of that article where we pinned and spread our cicadas and now they are sufficiently dry to remove from the spreading board.
Removing Pinned Cicadas from the Spreading Board
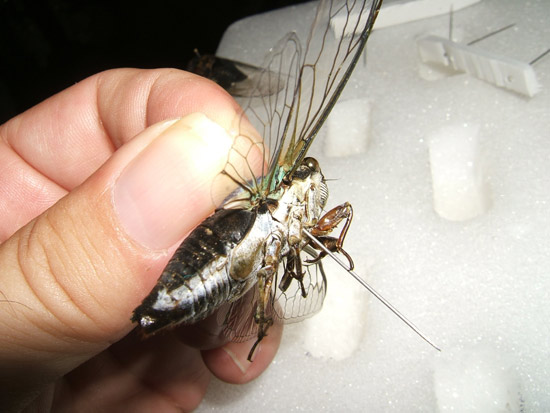
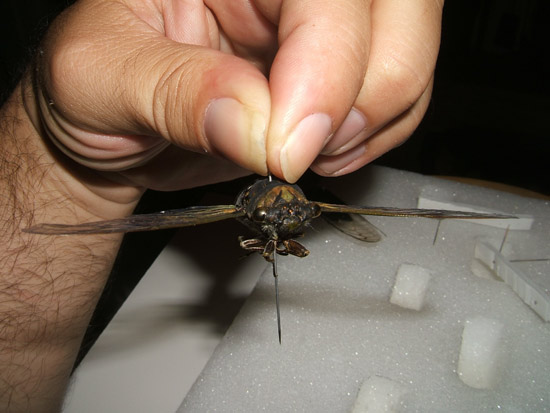
When removing the pinned cicada, it's important to be gentle because now that the specimen is dry it can be quite brittle and we wouldn't want to accidentally snap off a leg or break the antennae.
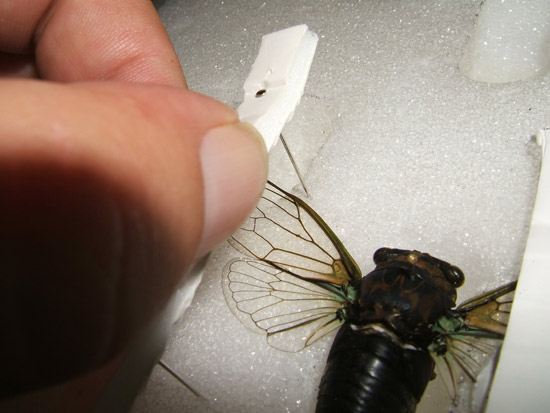
 You should remove the left wing anchor first and then the right wing anchor. I usually like to grab the anchor and pull it away from the styrofoam board with the pins still in the anchor but you can remove the pins first then gently lift the wing-anchors off the wings. When you do this you will see that the wings will remain spread. If they move, then you didn't let the cicada dry long enough so you will need to re-set the wings and re-mount the cicada on the spreading board and wait a little longer.
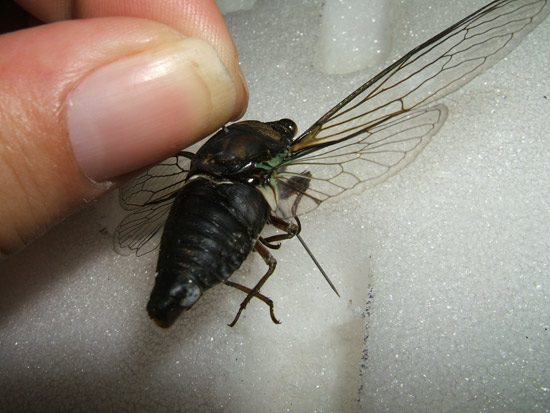
Now that the anchors are off the wings, it is time to grasp the pin that the cicada is impaled on and gently pull up removing the cicada from the spreading board.
The pin that the cicada is on should be nice and straight and the wings should be flat and even.
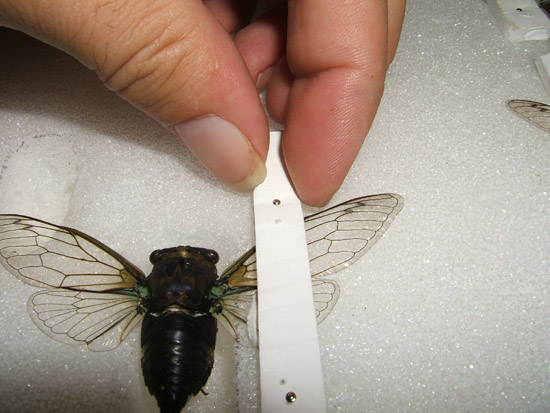
Save the Wing Anchors.
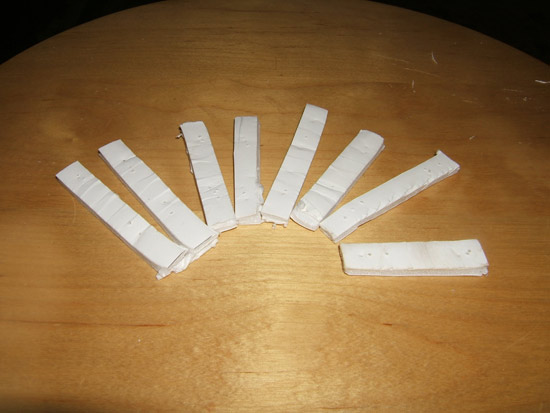 After you're done pinning multiple cicadas there is no need to throw away the wing anchors or the pins that held them in position. You can save them in something like a zip lock baggie to use in the future. I try to recycle as much of my equipment as possible. You could get multiple uses out of these same wing anchors and pins so please save them. Now we will delve into creation of our labels.
Label Making Software
There are lots of free specimen label-making software available on the internet. Doing a quick search on Google yielded plenty of results. For instance a free download from InsectNet.com seems pretty interesting. It's a pre-formatted Excel workbook with two spreadsheets in it that you can use as a template. One spreadsheet is for 3 line labels and the other is for 4 line labels. Simply copy the pre-loaded example and paste into the other cells and swap out the template information for your information.
Unfortunately while interesting, that version is not as robust as we would like so I prefer to use the Insect Label Maker from Entomology Media Services. What it is is a Microsoft Word document that has a pre-programmed Macro built in. It even comes with a tutorial that is easy to follow instructing you how to use the Macro.
There are drawbacks however. You must have Microsoft Word 2000 or later installed on your computer. Also I don't think it works on a Mac but the creator states that he will be adding compatibility for Mac very soon along with other new and improved features.
For the purposes of this article we are not going to get into how the Macro works or any of its other features. If you follow the simple tutorial after downloading, it goes into great detail on the different types of labels that can be made and its other features and how to fill out the form. We are just going to be discussing the kind of data that we need for our label.
Label Paper Stock
 Typically it is recommended to use an acid free 24 pound or higher paper stock that is letter size. This ensures that your label will last for a very long time and won't degrade over time. However, paper like this can be very expensive and if you keep your pinned specimens out of the light and perhaps keep them in a tight container or drawer, whatever paper you use should be fine. You could get a bit industrious like I do and come up with a system of laminating your labels by using a laminating machine or if you want to go a cheaper route, just put your label between two pieces of clear scotch tape. This acts as an excellent laminating medium. It does get a bit tedious and time consuming to do but I think in the end you will be happy with the results.
The Collection Data
In the first and second article in our How To series, we discussed the importance of keeping a notebook whenever you go out collecting specimens. You should read these articles first before going any further. I go into great detail the types of information you should be recording when collecting specimens because it is the data in this notebook that we will be using to make our labels.
Your labels should contain information that's divided into two separate smaller sections. One section is for collection location information and the other is for species identification information. You can get as detailed as you'd like depending upon how much information you wrote down in your field notebook. At the very least below is a breakdown of what these two sections of the label should contain.
Collection location information:
At a minimum, this section should contain the state county and town the specimen was collected in along with the actual location information like a street address or point of interest name. It should also contain information about who actually collected the specimen and what it was collected or found on. Like the type of plant or found at lights or even inside your car to name a few examples. Also information on how it was captured would be very useful like by light trapping, use of a net or captured by hand. And lets not forget the date the specimen was captured. Noting the date would give information such as what time of season this particular species can be expected to be found etc.
Optional collection location information:
GPS location data while optional is still very useful information to have on your label. It provides valuable geocoded data so that anyone would be able to find the exact locality of where your specimen was collected. Not only that but gps coordinates can be added to a database in order to plot out distribution ranges of species on maps. That's how powerful geocoded information can be. I always provide geodata with every specimen label that I generate.
Species identification information:
This section of the label lists all species information pertaining to the pinned specimen. Of course you must know the species name in order to be able to identify it and put it on a label. If you don't know the species then you're in the right place. If you wish to keep your specimens in the manner outlined in these How To guides and yet you still don't know the species of cicada (or any other insect for that matter) then you can photograph your specimen and fill out the report cicada and cicada killers form and we will add it to our cicada or cicada killer sightings pages and identify it for you.
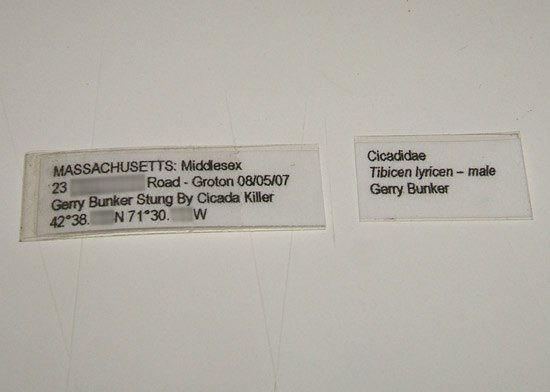
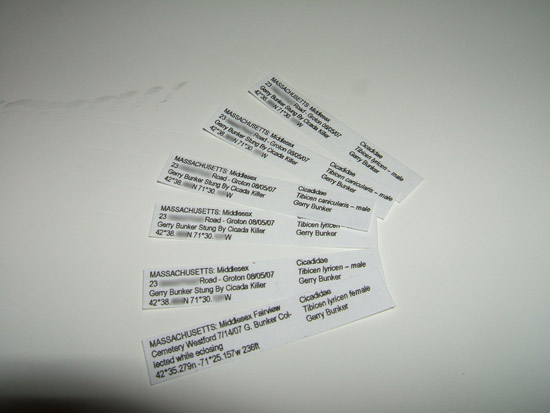
Lets say for the sake of argument we already know the species name, ie; its a Tibicen lyricen cicada, a common species here in New England. At a minimum, three pieces of information are required for the species information section of our label. Family, Genus and Species. To learn more about what these three classification types are simply go to the FAQ page and look under "General Insect FAQ's" to gain a better understanding. See the photo above and to the left for an example of the minimum data requirements a specimen label should contain.
We have only just scratched the surface regarding the myriad types of useful information that can be added to specimen labels. We could really get fancy and add additional information like the outside temperature and time the insect was collected. We can even add things like the author of the specimen label and even who id'd the specimen. The more information you can provide the more valuable your specimen will be as a study tool.
Labeling the specimen
Now that we have all our data entered into our label-making software now its time to print it out. Please note that when you print out your labels make sure you use a font that is easily readable. Too small and people with poor eye sight will have difficulty in reading the data on the specimen label. I like to use Arial Narrow with a minimum font size of 5. You may prefer something different but in the end, make sure you use a sans-serif font.
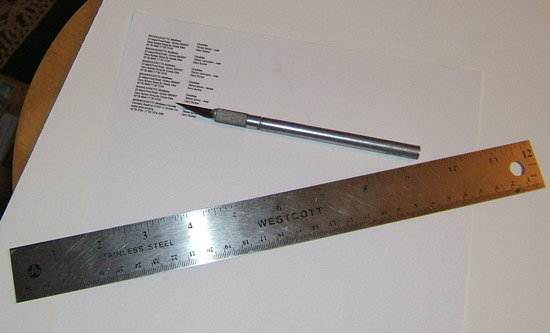
You should have a nice letter-sized sheet of paper with the labels laid out on them. Now comes the fun part which is to cut out the labels. I would recommend you get something like a metal ruler to act as as straight-edge and also an exacto knife to slice your printed label sheet into separate individual labels.

The Finishing Touches
Now that we have all of our labels sliced individually, now it is time to further slice them into individual sections by their collection location information and species information slices. You can do this with your exacto knife. Please be careful when doing this because you do not want to get the individual slices mixed up with each other. I would recommend slicing individual labels one at a time to avoid this.
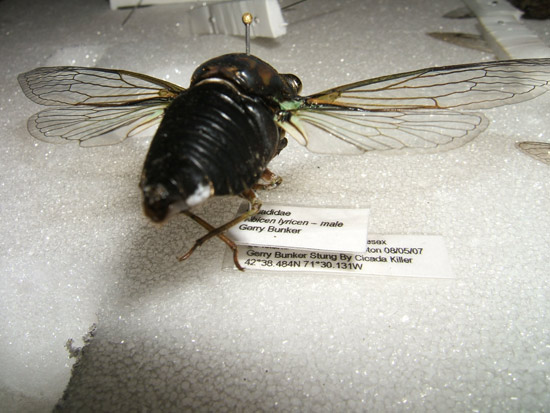
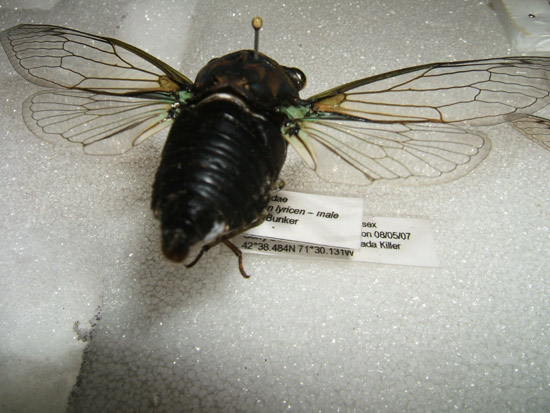
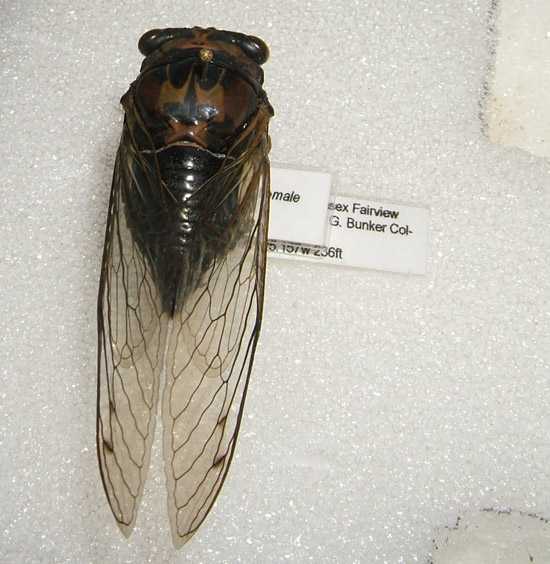
Now it is just a matter of attaching the labels to the appropriate specimen via the pin that the specimen is attached to. Start with the species information section of the label first followed by the location information section leaving adequate room between each section so that you can read them easily. Study the images below of some finished examples.
I believe that I have provided you with enough information to get you started on your way to be a much more repsonsible and organized insect specimen collector. If you follow these examples then your specimens will be of value not only to you but for others for years to come. If you have any questions or comments regarding the methods outlined here or other best practices, then please fill in the comments form below and I will get back to you.
Date Posted: 2011-05-13 Comments: (3) Show CommentsHide Comments
Comments
Posted By: Amaletter | On: 2019-05-10 | Website: Overcomewitchesattack.com
Wonderful information. Very useful.
Posted By: Ricardo Wilson | On: 2020-01-08 | Website:
Very helpful tutorial. For other Mac users out there, I recommend using Labug, which is available on the Mac App Store.
Posted By: Ricardo Wilson | On: 2020-01-08 | Website:
Here is the offical website in case anyone is curious about Labug: https://aalarie.github.io/labug/